What Is RSI and Why Should Typists Care?
Repetitive Strain Injury (RSI) is an umbrella term for a group of conditions caused by repetitive movements, sustained awkward postures, or prolonged force application. For people who type extensively, RSI typically affects the fingers, hands, wrists, forearms, elbows, and shoulders. Common RSI conditions among typists include carpal tunnel syndrome, tendinitis, tenosynovitis, and trigger finger.
RSI develops gradually. In the early stages, you might notice occasional tingling, numbness, or mild aching in your hands or wrists that goes away when you stop typing. If ignored, these symptoms can progress to persistent pain, weakness, and reduced range of motion that affects not just typing but everyday activities like cooking, driving, and even sleeping. In severe cases, RSI can become debilitating and require surgery.
The good news is that RSI is largely preventable. By setting up your workspace correctly, maintaining proper posture, taking regular breaks, and using good typing technique, you can type for years without developing repetitive strain problems. This guide covers everything you need to know about protecting yourself.
Setting Up Your Workspace
Chair Height and Position
Your chair is the foundation of your ergonomic setup. When seated, your feet should be flat on the floor (or on a footrest if your chair is too high), your thighs roughly parallel to the floor, and your hips slightly higher than your knees. This position distributes your body weight evenly and supports your spine's natural curves.
Adjust your chair's height so that when your hands are on the keyboard, your forearms are approximately parallel to the floor and your elbows form a 90 to 110 degree angle. If your chair has armrests, adjust them so they gently support your forearms without pushing your shoulders upward.
Keyboard Height and Angle
Your keyboard should be at a height that allows your wrists to remain in a neutral, straight position while typing. A neutral wrist position means your wrists are not bent upward (extension), downward (flexion), or sideways (ulnar or radial deviation). Any sustained wrist deviation from neutral position increases pressure on the tendons and nerves that run through the wrist, which is a primary cause of carpal tunnel syndrome and other RSI conditions.
Many people make the mistake of using the keyboard feet (the flip-out stands on the back of most keyboards) to tilt the keyboard upward. This actually forces the wrists into extension, which is one of the worst positions for long-term typing health. If anything, a slight negative tilt (the front of the keyboard slightly higher than the back) is preferable, as it allows the wrists to rest in a more natural position.
Monitor Position
While monitor position does not directly affect your hands and wrists, it profoundly affects your neck, shoulders, and upper back, which in turn affects your arm position and hand comfort. Your monitor should be directly in front of you, with the top of the screen at or slightly below eye level. The monitor should be about an arm's length away from your face.
If you use a laptop, the built-in screen is almost always too low for extended use. Consider using a laptop stand to raise the screen to the proper height and connecting an external keyboard and mouse. This setup is one of the most impactful ergonomic improvements a laptop user can make.
Mouse Placement
If you use a mouse, it should be immediately adjacent to your keyboard, at the same height, so you do not need to reach or stretch to use it. Repeatedly reaching for a mouse that is too far away or too high is a common cause of shoulder and upper arm strain. Consider using a compact keyboard without a number pad to bring the mouse closer to the center of your body, or use a trackpad or trackball as an alternative to a standard mouse.
Proper Typing Posture
The Foundation: Sit Up Straight
Good typing posture starts with your spine. Sit with your back supported by your chair's backrest, your shoulders relaxed and down (not hunched up toward your ears), and your head balanced directly over your shoulders. Avoid leaning forward toward the screen, which is a common habit that strains the neck, shoulders, and upper back.
Maintaining good posture for hours is challenging. Your muscles fatigue, and you tend to slump. This is one of many reasons why regular breaks are essential. When you notice your posture deteriorating, take it as a signal to stand up, stretch, and reset.
Arm and Wrist Position
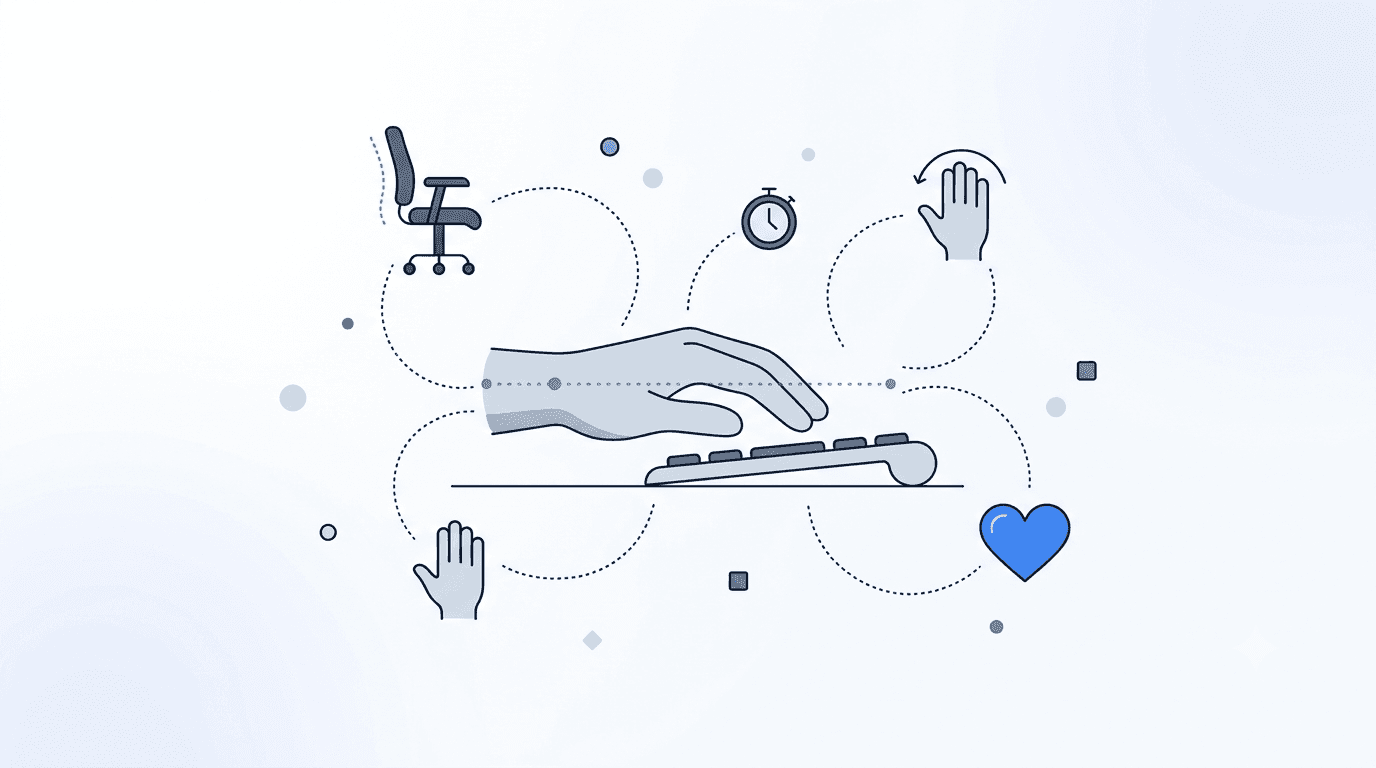
Your upper arms should hang naturally from your shoulders, close to your body. Your forearms should extend forward toward the keyboard at approximately a 90-degree angle from your upper arms. Your wrists should be in a neutral position: straight, not bent in any direction, and not resting heavily on the desk surface or a wrist rest.
A common misconception is that wrist rests are for resting your wrists while typing. They are actually designed as resting pads for when you pause between typing sessions. Resting your wrists on a pad while actively typing forces them into a bent position and puts pressure on the carpal tunnel. While typing, your wrists should float above the keyboard, with your arms supported from the shoulders and elbows rather than the wrists.
Hand and Finger Position
Your hands should hover over the keyboard in a gently curved position, as if you were holding a small ball. Fingers should be curved, not flat, and should strike keys with a light, tapping motion rather than a forceful press. Many typists, especially beginners, press keys much harder than necessary. Modern keyboards require very little force to register a keystroke, so train yourself to use the minimum pressure needed.
Keeping your fingers curved and your wrists neutral are key elements of touch typing technique. A structured typing course teaches proper hand position as part of its curriculum, which is one reason why formally learning touch typing is beneficial for long-term health as well as speed.
The Critical Importance of Breaks
Microbreaks: Every 20-30 Minutes
Microbreaks are brief pauses of 20-30 seconds taken every 20-30 minutes. During a microbreak, stop typing, let your hands drop to your sides, and look away from the screen. Blink a few times, roll your shoulders, and flex your fingers gently. These tiny breaks allow your muscles and tendons to recover from the repetitive motions of typing and your eyes to refocus.
The 20-20-20 rule is a useful guideline: every 20 minutes, look at something 20 feet away for 20 seconds. This addresses both eye strain and the need for regular movement.
Short Breaks: Every Hour
In addition to microbreaks, take a longer break of 5-10 minutes every hour. Stand up, walk around, and do some gentle stretching. This break serves multiple purposes: it relieves muscle tension, promotes blood circulation, gives your eyes a rest, and allows your brain to process information more effectively.
Longer Breaks: Every 2-3 Hours
If you work at a computer for extended periods, take a substantial break of 15-20 minutes every two to three hours. Use this time to walk, do a more extensive stretching routine, or engage in a non-computer activity. These longer breaks are important for preventing the cumulative fatigue that develops over a full workday.
Stretches and Exercises for Typists
Wrist Stretches
These stretches help maintain wrist flexibility and relieve tension in the forearm muscles that control finger movement:
- Prayer stretch: press your palms together in front of your chest with fingers pointing upward. Slowly lower your hands while keeping palms together until you feel a stretch in your wrists and forearms. Hold for 15-30 seconds.
- Reverse prayer stretch: press the backs of your hands together with fingers pointing downward. Gently push down until you feel a stretch. Hold for 15-30 seconds.
- Wrist extension stretch: extend one arm in front of you with palm facing down. Use the other hand to gently pull the fingers back toward your body until you feel a stretch in the underside of your forearm. Hold 15-30 seconds, then switch hands.
- Wrist flexion stretch: extend one arm with palm facing up. Use the other hand to gently push the fingers downward until you feel a stretch on top of the forearm. Hold 15-30 seconds, then switch.
Hand and Finger Exercises
These exercises strengthen the small muscles in your hands and improve blood flow:
- Fist squeezes: make a tight fist, hold for 5 seconds, then spread your fingers wide. Repeat 10 times.
- Finger spreads: place your hand flat on a table, then spread your fingers as wide as possible. Hold for 5 seconds, then relax. Repeat 10 times.
- Finger taps: touch each fingertip to your thumb in sequence (index, middle, ring, pinky), then reverse. Repeat 5 times with each hand.
- Rubber band extensions: place a rubber band around all five fingertips and spread your fingers against the resistance. Repeat 15-20 times.
Shoulder and Neck Stretches
Tension in the shoulders and neck contributes to arm and hand problems. Include these stretches in your break routine:
- Shoulder rolls: roll your shoulders forward in large circles 10 times, then backward 10 times
- Neck tilts: tilt your head to one side, bringing your ear toward your shoulder. Hold for 15 seconds, then switch sides.
- Chin tucks: pull your chin straight back (creating a "double chin") to stretch the back of your neck. Hold for 5 seconds, repeat 10 times.
- Chest opener: clasp your hands behind your back and gently pull your shoulders back while lifting your hands. Hold for 15-30 seconds.
Choosing Ergonomic Equipment
Ergonomic Keyboards
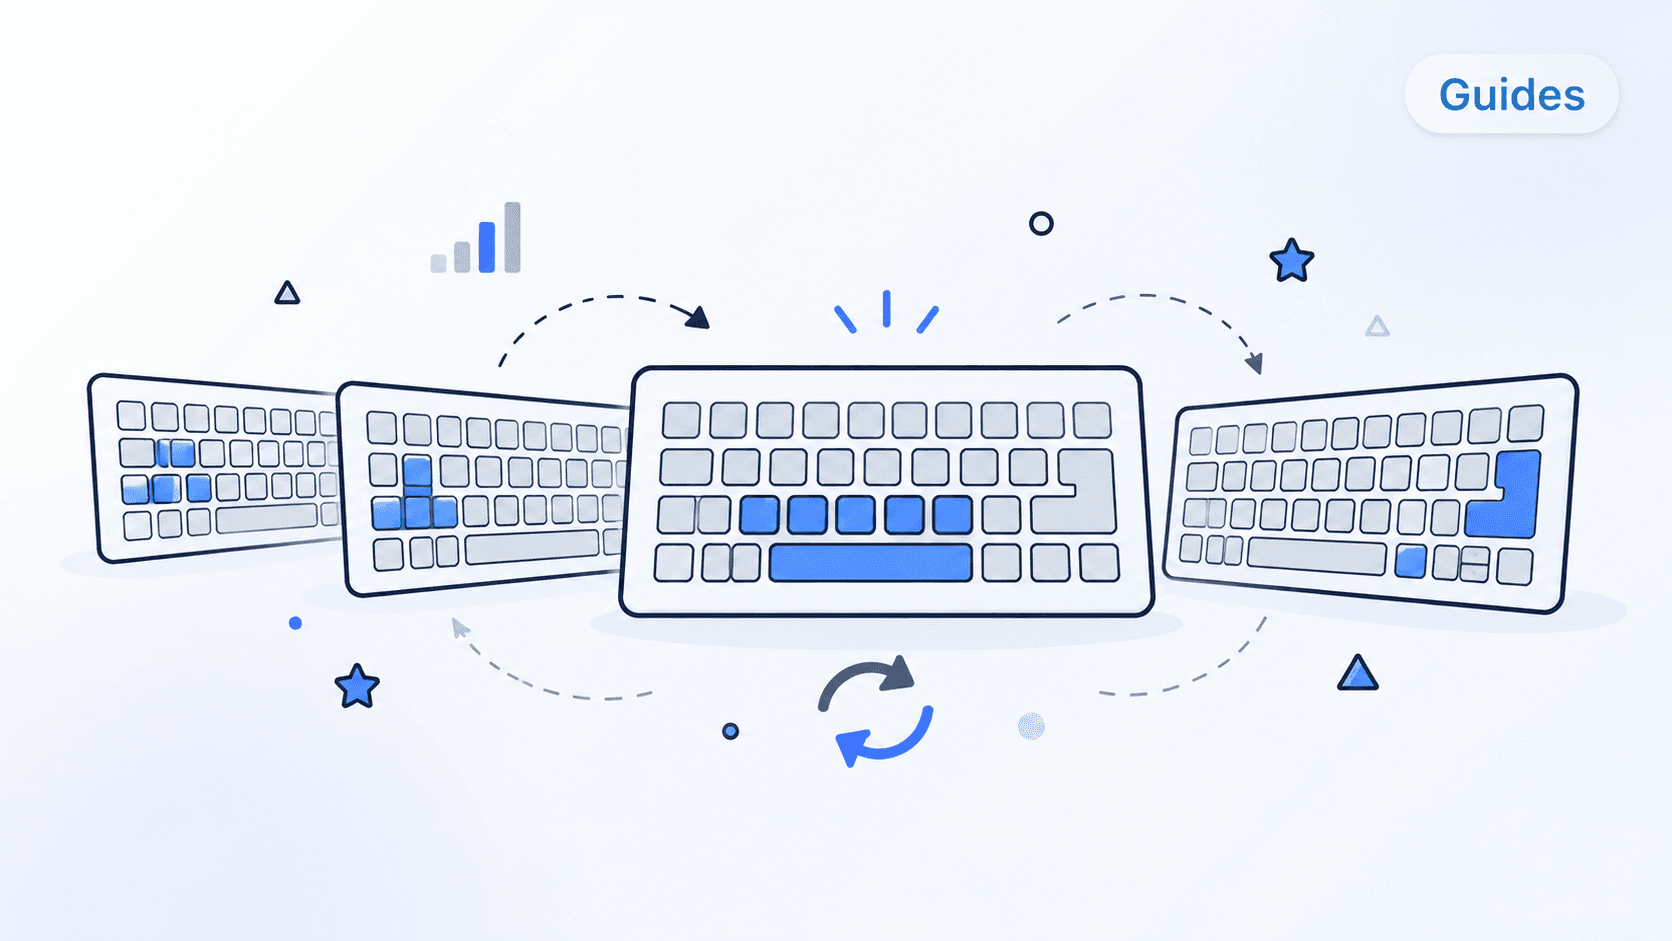
Standard flat keyboards force your hands into a pronated position (palms facing down) with your wrists slightly angled outward. Over time, this position can contribute to strain. Ergonomic keyboards address this in various ways:
- Split keyboards: divide the keyboard into two halves, allowing each half to be angled independently so your wrists remain straight
- Tented keyboards: raise the middle of the keyboard so your hands are in a more natural, slightly tilted position rather than fully pronated
- Curved keyboards: arrange the keys in a curved layout that matches the natural arc of finger movement
- Compact keyboards: eliminate the number pad to reduce the reach distance to the mouse
Ergonomic keyboards have a learning curve. Your typing speed may temporarily decrease while you adapt to the new layout. However, many users report that their speed recovers within a few weeks and that the improvement in comfort is well worth the adjustment period.
Mechanical vs. Membrane Keyboards
Mechanical keyboards with lighter switches (like Cherry MX Red or Brown) require less force per keystroke than many membrane keyboards, which can reduce finger fatigue over long typing sessions. The tactile feedback of mechanical switches also helps typists develop a lighter touch, as they can feel exactly when a keystroke registers without pressing the key all the way down.
Wrist Rests and Palm Supports
If you use a wrist rest, choose one made of firm foam or gel rather than a soft, squishy material. Remember to use it as a rest between typing sessions, not as a support during active typing. The wrist rest should support the heel of your palm, not the underside of your wrist where the carpal tunnel is located.
Warning Signs to Watch For
Early detection of RSI symptoms allows for intervention before the condition becomes serious. See a healthcare professional if you experience any of the following:
- Persistent tingling or numbness in your fingers, hands, or wrists
- Pain that does not resolve with rest and stretching
- Weakness in your grip or difficulty performing fine motor tasks
- Swelling, redness, or warmth in your hands or wrists
- Pain that wakes you up at night
- A clicking or catching sensation when moving your fingers
Do not ignore these symptoms or try to push through them. RSI that is caught early is much easier to treat than RSI that has been allowed to progress.
Conclusion: Prevention Is Better Than Cure
Keyboard ergonomics is not just about comfort. It is about protecting your ability to type pain-free for years to come. The investment of time and attention in setting up your workspace correctly, maintaining good posture, taking regular breaks, and doing simple stretches pays enormous dividends in long-term health and productivity.
Combine good ergonomics with proper typing technique for the best results. A structured touch typing course teaches not only the fastest finger movements but also the safest ones, with proper hand position and light keystroke habits that minimize physical strain. Your future self will thank you for the care you take today.