Why Touch Typing Is a Skill Worth Learning
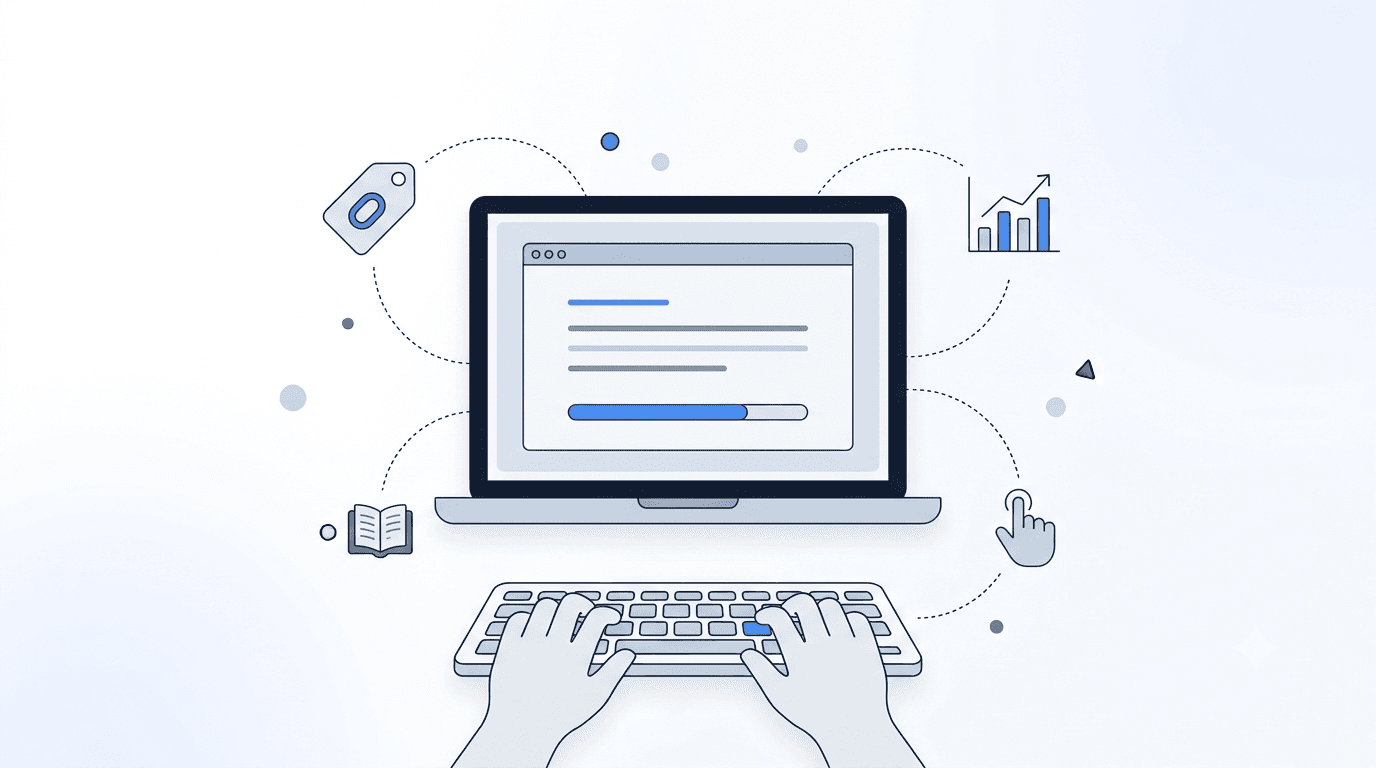
Touch typing is the ability to type without looking at the keyboard. Instead of hunting for each key with one or two fingers, touch typists use all ten fingers and rely on muscle memory to find the right keys. This seemingly simple skill can transform your productivity, reduce physical strain, and open up new career opportunities.
The average hunt-and-peck typist manages around 20-30 words per minute (WPM). A proficient touch typist, by contrast, routinely hits 50-80 WPM or more. That difference adds up quickly: over the course of a workday, a touch typist can produce the equivalent of several extra hours of output compared to someone who types slowly.
The good news is that touch typing is a learnable skill. With a structured plan and consistent daily practice, most people can achieve functional touch typing speed within 30 days. This guide provides a detailed, day-by-day roadmap to help you get there. Whether you are a student, a professional, or simply someone who wants to communicate more efficiently, this plan will work for you.
Before You Begin: Setting Up for Success
Choose the Right Keyboard
You do not need a fancy mechanical keyboard to learn touch typing, but you do need a keyboard that feels comfortable. Make sure all keys are responsive and that the keyboard is at a comfortable height. If you are using a laptop keyboard, consider propping it up on a stand or using an external keyboard to improve your posture.
Find Your Starting Point
Before you start the 30-day plan, take a baseline typing speed test to measure your current WPM and accuracy. Write down your results. You will use this baseline to track your progress throughout the month. Do not be discouraged if your starting speed is low. The whole point of this plan is to improve.
Commit to Daily Practice
Consistency matters more than session length. Plan to practice for 15-30 minutes every day. Short, focused sessions are more effective than occasional marathon sessions. Your brain needs time to consolidate muscle memory between practice sessions, so daily repetition is essential.
Proper Finger Placement
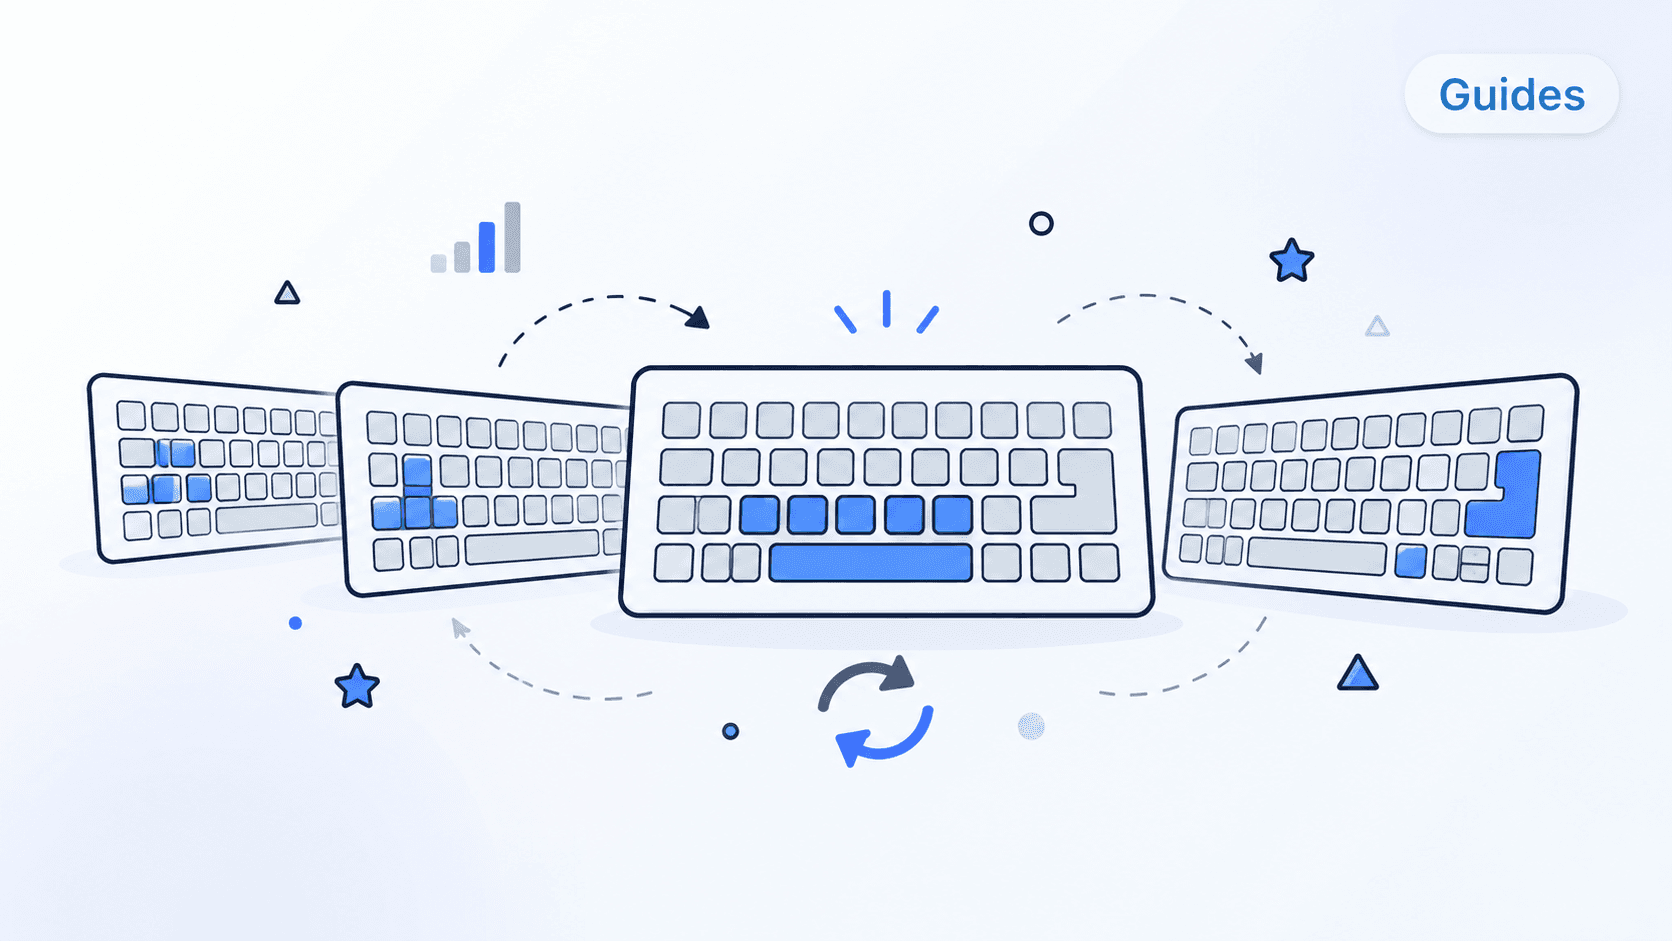
Touch typing begins with the home row. Place your fingers on the middle row of letter keys:
- Left hand: pinky on A, ring finger on S, middle finger on D, index finger on F
- Right hand: index finger on J, middle finger on K, ring finger on L, pinky on semicolon (;)
- Thumbs: both rest on the spacebar
Most keyboards have small raised bumps on the F and J keys. These tactile markers help you find the home row without looking. Always return your fingers to this position after pressing other keys.
Week 1: The Home Row Foundation (Days 1-7)
Day 1-2: Meet the Home Row
Your first two days are all about getting comfortable with the home row keys: A, S, D, F, G, H, J, K, L, and the semicolon. Start by simply pressing each key with the correct finger, saying the letter aloud as you go. Focus on accuracy, not speed. Type simple combinations like "asdf jkl;" over and over until the movements feel natural.
Use a structured typing course that isolates home row practice. The Typing Cat's beginner course is designed specifically for this purpose, with exercises that gradually build complexity while keeping you on the home row.
Day 3-4: Home Row Words
Now that your fingers know where the home row keys live, start typing real words that use only those keys. Words like "sad," "flask," "lad," "hall," "fall," and "dash" all use home row letters. Typing real words helps your brain create meaningful associations, which accelerates muscle memory formation.
Practice typing short sentences made from home row words. For example: "a lad had a flask" or "all shall fall." These may sound silly, but they train your fingers to move between keys in realistic patterns.
Day 5-7: Speed and Flow on Home Row
By day five, you should be able to type home row letters without looking at the keyboard most of the time. Now focus on building speed and flow. Try to type home row words and sentences more quickly, but never sacrifice accuracy for speed. If you find yourself making frequent mistakes, slow down.
End the first week by retaking a typing test that focuses on home row keys. You should see noticeable improvement in both speed and accuracy compared to Day 1.
Week 2: Expanding Your Reach (Days 8-14)
Day 8-9: Top Row Introduction
The top row contains Q, W, E, R, T, Y, U, I, O, and P. Each finger reaches upward from its home row position to hit the corresponding top row key. Your left index finger covers both R and T, while your right index finger covers Y and U. Practice reaching up and returning to the home row after each keystroke.
Start with exercises that mix home row and top row keys. Type words like "the," "write," "type," "quit," and "power." The key here is to always return your fingers to the home row position after reaching for a top row key.
Day 10-11: Bottom Row Introduction
The bottom row includes Z, X, C, V, B, N, and M. These keys require your fingers to reach downward from the home row. The bottom row is often the trickiest for new touch typists because the downward reach feels less natural than the upward reach. Take your time with these keys.
Practice words that use bottom row letters: "mix," "van," "box," "come," "number," and "bench." Combine them with home row and top row words in short sentences.
Day 12-14: Full Alphabet Practice
By the end of week two, you have been introduced to all 26 letter keys. Now it is time to practice using all of them together. Type pangrams (sentences that contain every letter of the alphabet), such as "the quick brown fox jumps over the lazy dog." Type common English words and simple paragraphs.
Do not worry if your speed has temporarily decreased. Adding new keys disrupts established patterns, and that is completely normal. Your speed will recover and surpass previous levels as you practice more.
Week 3: Numbers, Symbols, and Real Text (Days 15-21)
Day 15-16: Numbers Row
The numbers row sits above the top row and requires the longest finger reach. Each finger stretches upward from the home row to reach its corresponding number key. Practice typing phone numbers, dates, and addresses to build familiarity with the number keys.
Day 17-18: Common Punctuation and Symbols
Punctuation marks like periods, commas, question marks, exclamation points, and apostrophes are essential for real-world typing. Practice typing sentences with proper punctuation. Pay special attention to the shift key, which you should press with the opposite hand from the character key you are typing.
Day 19-21: Real-World Text Practice
Transition from structured exercises to typing real text. Type passages from books, articles, or your own writing. This helps you encounter natural word patterns and punctuation combinations. Try typing emails, chat messages, or journal entries using touch typing technique.
Take an assessment at the end of week three to see where you stand. Most learners reach 25-35 WPM with reasonable accuracy at this point.
Week 4: Building Speed and Confidence (Days 22-30)
Day 22-24: Speed Drills
Now that you can touch type all the common keys, it is time to focus on building speed. Use timed typing exercises to push yourself. Start with one-minute drills and gradually increase to three-minute or five-minute sessions. Focus on maintaining a steady rhythm rather than bursting and pausing.
Common speed-building techniques include:
- Overtyping: type the same passage multiple times in a row, trying to go slightly faster each time
- Sprints: type as fast as you can for 15 seconds, rest, repeat
- Problem key focus: identify your slowest or most error-prone keys and practice them specifically
Day 25-27: Accuracy Refinement
Speed means nothing without accuracy. A typist who types 60 WPM with 85% accuracy is actually less productive than one who types 45 WPM with 98% accuracy, because the faster typist spends significant time correcting errors. Aim for at least 95% accuracy before pushing for more speed.
Practice slow, deliberate typing where every keystroke is correct. This trains your muscles to follow the right paths. Then gradually increase your speed while maintaining that accuracy. If accuracy drops below 95%, slow down again.
Day 28-30: Integration and Assessment
Your final three days are about integrating touch typing into your real life. Use touch typing for all your regular computer tasks: emails, documents, chat messages, web searches, and coding. Resist the temptation to look at the keyboard, even when you make mistakes.
On Day 30, take a comprehensive speed test and compare your results to your Day 1 baseline. Most people who follow this plan consistently achieve 35-50 WPM with 90-95% accuracy by the end of 30 days. That is a solid foundation for continued improvement.
Tips for Staying on Track
Deal with Frustration Productively
Learning touch typing can be frustrating, especially in the first two weeks when you are slower than your old hunt-and-peck method. This is completely normal and temporary. Trust the process. The initial slowdown is an investment that pays enormous dividends in speed and comfort over time.
Track Your Progress
Keep a simple log of your daily WPM and accuracy scores. Seeing a visual record of your improvement provides powerful motivation. Even small gains from day to day add up to dramatic improvement over 30 days.
Eliminate the Urge to Look
Some people find it helpful to cover their keyboard with a cloth or use a blank keyboard cover during practice. If you cannot resist peeking, try dimming your screen so you can barely see the text and typing in a dark room. The goal is to force your fingers to learn the key positions through repetition rather than visual reference.
Practice with Content You Enjoy
Structured typing exercises are important for building foundational skills, but practicing with content you find interesting makes the process more enjoyable. Type out song lyrics, favorite book passages, movie quotes, or your own creative writing. The more you enjoy the practice, the more likely you are to stick with it.
What Happens After 30 Days
Reaching functional touch typing speed in 30 days is a significant achievement, but it is just the beginning. Most professional typists continue to improve for months and years after learning the basics. Here is what continued growth looks like:
- Months 2-3: speed typically increases to 50-65 WPM as muscle memory deepens
- Months 4-6: most dedicated practitioners reach 60-80 WPM
- Beyond 6 months: speeds of 80-100+ WPM are achievable with regular practice
The key to continued improvement is continued practice. Use touch typing for everything you type, and periodically challenge yourself with speed tests and new exercises.
Common Mistakes to Avoid
As you work through this 30-day plan, watch out for these common pitfalls:
- Skipping days: consistency is more important than session length. Even five minutes of practice is better than skipping a day entirely.
- Prioritizing speed over accuracy: bad habits formed early are hard to break later. Always prioritize accurate keystrokes over fast ones.
- Using the wrong fingers: it is tempting to use whatever finger reaches a key fastest, but this creates bottlenecks at higher speeds. Stick to proper finger assignments.
- Giving up during the dip: your speed will temporarily decrease when you add new keys or switch from hunt-and-peck to touch typing. This dip is normal and temporary.
- Practicing while tired or distracted: quality practice requires focus. If you are exhausted, a short focused session is better than a long unfocused one.
Conclusion: Start Your Touch Typing Journey Today
Learning to touch type in 30 days is an achievable goal for anyone willing to commit to daily practice. The structured plan outlined above takes you from complete beginner to functional touch typist, with each week building on the skills developed in the previous one.
The best time to start is now. Take a speed test to establish your baseline, then begin with Day 1 of the home row exercises. In just four weeks, you will have a skill that saves you time every single day for the rest of your life.
Ready to begin? Explore The Typing Cat's structured courses designed to guide you through each stage of the learning process, with real-time feedback and progress tracking to keep you on target.